This guide provides a complete step-by-step process for installing artificial grass, combining professional best practices with practical tips for achieving a flawless, long-lasting finish.
Before You Begin: Pile Direction
For the most natural appearance, the grass should be installed with the pile direction facing toward the house.


Installation Steps
1 Remove Existing Grass
- Remove all existing turf and vegetation
- A turf cutter is recommended as it saves time, reduces effort, and helps achieve a level surface
- Clear all debris and check for soft or uneven ground
2 Install the Edging
Edging is essential for a neat, durable finish and to contain the grass properly.
Suitable materials include: timber battens, metal edging, brick, concrete, patio or paving borders.
Artificial grass pile height ranges from 16 to 50mm, so ensure your edging height suits the product.
3 Lay the Base
Recommended structure under normal circumstances:
- 50–70mm of type 1 aggregate
- 20mm top layer of Grano dust (fine type 1: 2–6mm)
Ground make-up layers (top to bottom): Grass → Membrane → Base material → Subsoil → Grano dust or sharp sand → Solid edging/border
The finished base should sit 10–20mm below the top of the edging.
Compaction and Drainage:
- Compact using vibrating plate compactor
- Create slight camber or slope toward edges for drainage
- Lightly spray with water to reduce dust and improve binding
- Install landscape fabric/weed membrane over entire area and pin firmly
4 Position the Grass
- Roll out artificial grass over entire area
- Allow edges to overlap the perimeter
- Let grass settle and acclimatise for 1–2 hours
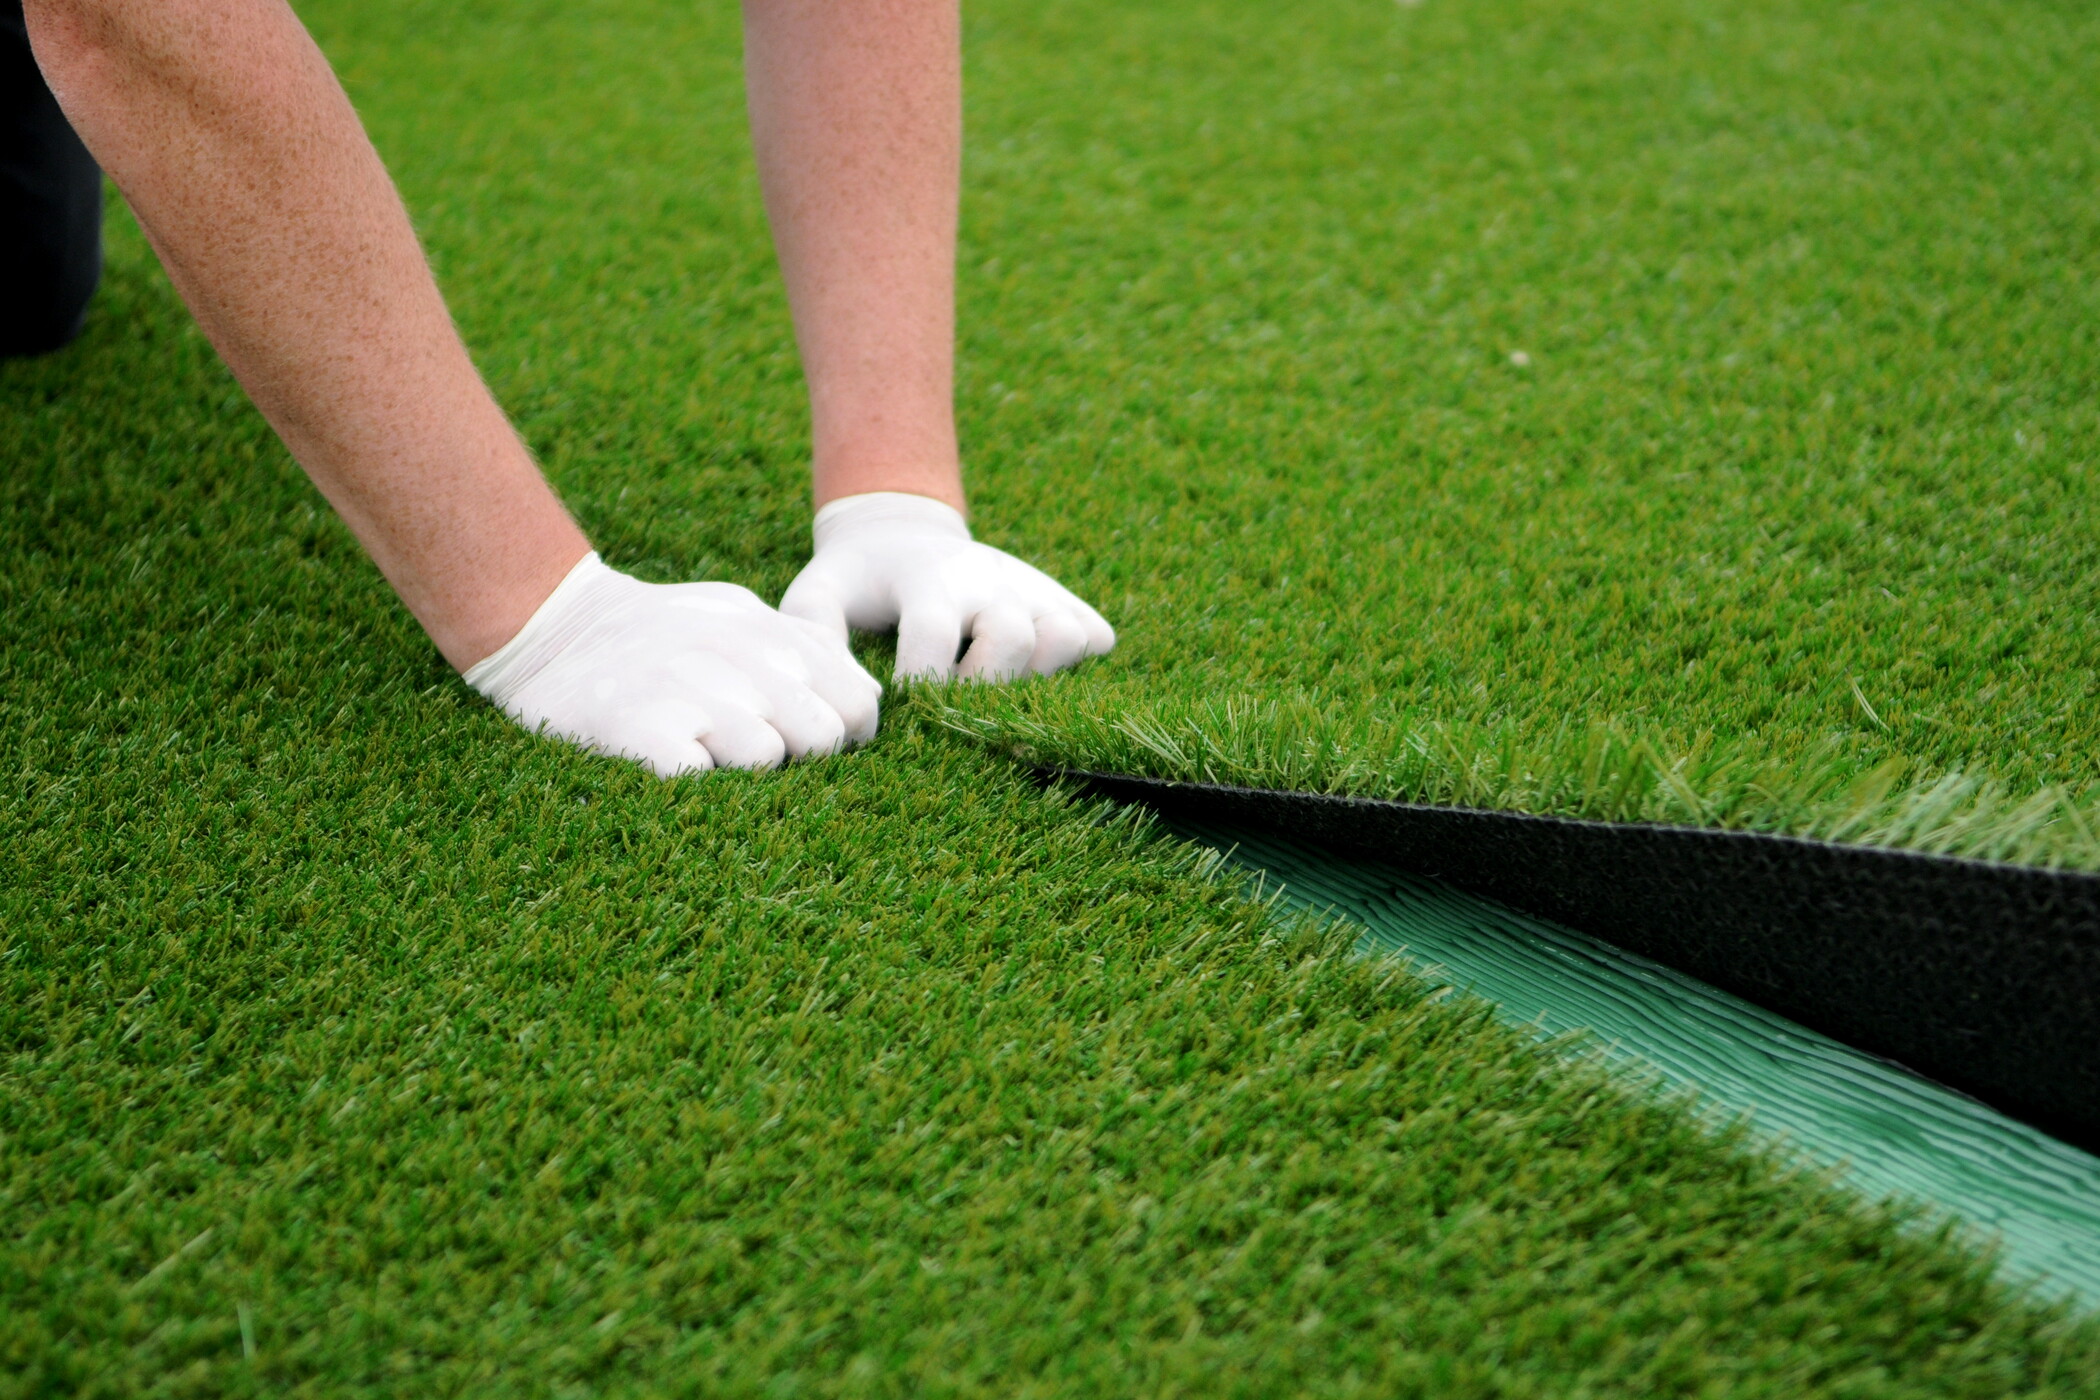
5 Trim and Secure Edges
- Trim neatly along all edges using a sharp trimming knife
- Cut so grass sits into recess between edging and base
- Glue or nail grass into edging where required
6 Brush the Pile
- Brush entire surface using a stiff broom
- Always brush against the direction of the pile to lift it
7 Optional: Kiln-Dried Sand Infill
While not essential, infill is recommended for high-use areas such as family gardens.
- Apply approximately 5kg per m²
- Spread evenly
- Brush in thoroughly to settle between fibres
- Adds stability, weight, and durability
Pet owners note: It is recommended NOT to use sand infill, as this helps prevent odours.
Joining Two or More Lengths
1 Cutting the Lengths
- Align both rolls with pile running in same direction
- Fold back edges
- Identify the 3rd and 4th stitch row
- Cut between them through latex backing only
- Avoid cutting grass fibres
- Repeat on second roll
Always use sharp blades – replace frequently for the cleanest cuts.
2 Joining the Lengths
- Position two cut edges together and fold them back
- Roll out joining tape (shiny side facing down)
- Apply adhesive evenly
- Carefully fold both edges onto tape
- Ensure no fibres touch the adhesive
- Walk gently along joint to secure it
- Adjust slightly until join becomes invisible
Allow at least 2 hours for the glue to set (up to 24 hours in cold conditions).
Hints and Tips for a Perfect Finish
- Take your time; invisible joins require patience
- Do not over-apply adhesive
- Avoid installing during rain or on wet tape/grass
- Keep knife blades razor sharp
- If glue contacts grass, use light solvent and cloth to remove
A professionally installed artificial grass lawn